
 |
|---|
|
|
One Method to Strengthen a Chevy 10 Bolt Differential |
|||||
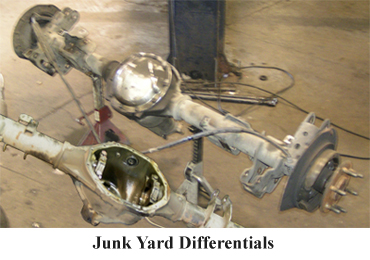
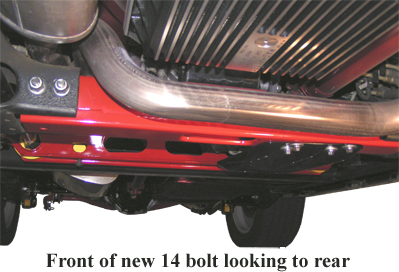
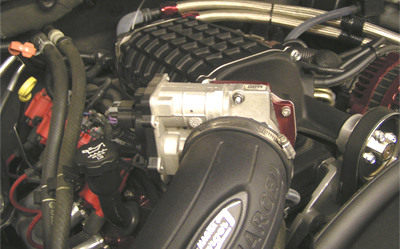
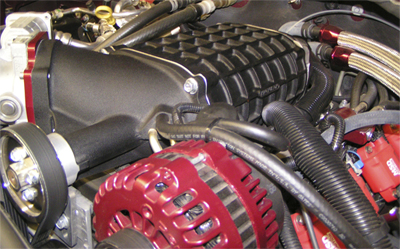
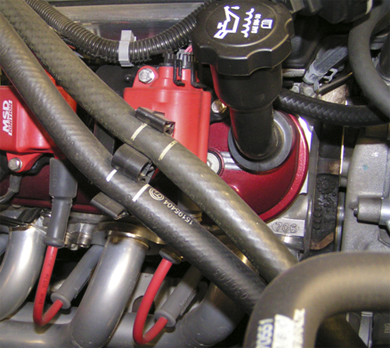
Addiction. Webster's says: the state of being enslaved to a habit or practice or to something that is psychologically or physically habit-forming, as narcotics, to such an extent that its cessation causes severe trauma. It all started innocently enough. I thought that I needed to personalize my vehicle. So, I got some Piaa windshield wipers from AutoAnything. I thought that fuel economy was important. I installed a stainless Cat back system. Then headers. Everything started to cascade from there like an avalanche to more and more parts and speed equipment. I installed a Magnacharger TVS supercharger. Power and speed. I thought that I could stop at anytime. But, quite suddenly, I discovered that I was out of control. I had to have stronger fixes. I had to go to Summit Racing. I was sated for a while, but now it's: CUSTOM FABRICATION. Or, is it denial? I forgot what the analyst said. In point of fact, the author's mental competence has been questioned several times. Who in their right mind would try to hot rod a vehicle that is subject to the onerous regulations of the California Air Resources Board. No matter how costly, and with insufficient funds, mind you. However, "Big Red" meets the CARB regulations, and there are CARB Executive Order stickers to prove it. Anyway, this is a digression. The differential. It all started a long time ago. First the transmission blew up due to the increased power of the engine, and that was strengthened and upgraded. That just moved the weak link in power transmission further back to the differential. This is the story of strengthening my differential, or turning a Chevy 10 bolt to a 14 bolt differential. I know Darryl Atherton, who does custom fabrications. This was his idea to make a bullet-proof differential. |
|||||
|
|||||
|
|||||
|
|||||
|
|||||
|
|||||
|
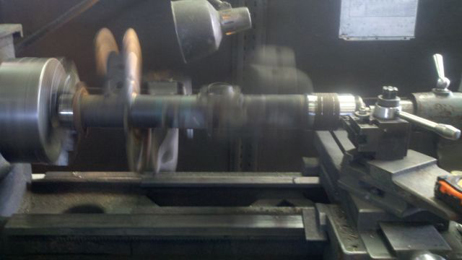
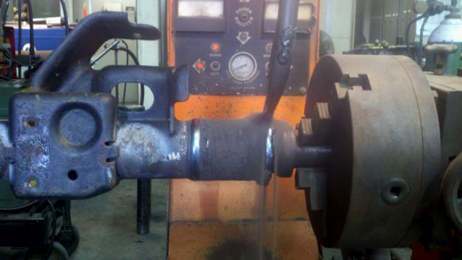
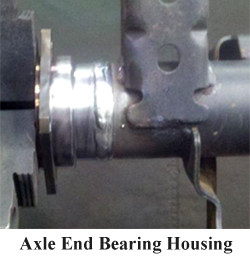
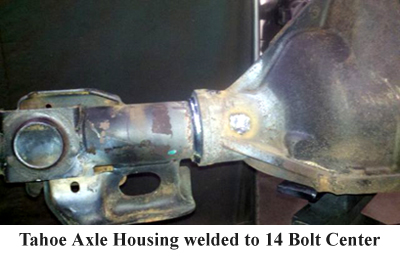
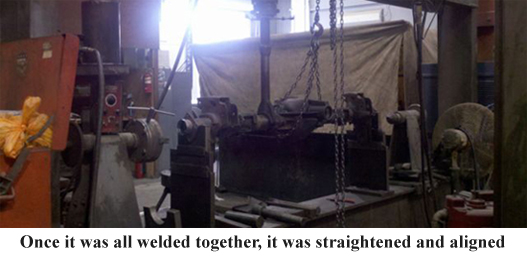
It sounds simple. The 14 bolt center has to be machined for the joint with the 10 bolt's axle housings. Everything has to welded and aligned meticulously, and that had to be sub-contracted to an expert. |
|||||
|
|||||
|
|||||
|
|||||
|
|||||
|
|||||
|
|||||
|
|||||
|
|||||
|
|||||
|
|||||
|
|||||
|
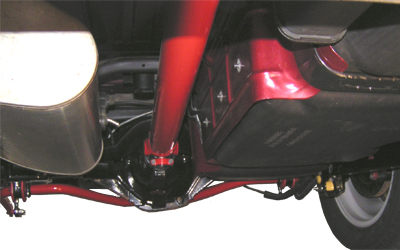
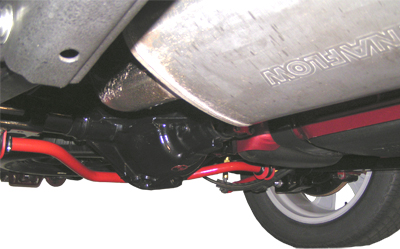
The rear Eibach sway bar would not clear the Mag-Hytec differential cover when the Tahoe is raised by the frame and the rear suspension hangs down. We tried to move the sway bar mounts farther to the rear, but that did not completely clear it. Hellwig has a special rear sway bar that is made to clear the Mag Hytec cover, and that was installed with new rod end links. It is a solid sway bar and is much heavier than the Eibach bar. But, so does the 14 bolt weigh more than the 10 bolt. So much for trying to save weight for fuel economy. |
|||||
|
There seemed to be vibrations at speeds above 85 MPH. I had the wheels rebalanced. I moved the front wheels to the rear and vice versa. I had the front end aligned again. All to no avail. I had the wheels rebalanced again. The only other thing changed was shortening the drive shaft. I took it back to Drive Line Service in West Sacramento. They found that it was out of balance. |
|||||
|
|||||
|
|||||
|
The Computer, PCM, had to be updated with the differentials' gear changes. Those gear changes make the Power train Control Module's data input incorrect. This outwardly manifests itself as a speedometer reading that is way off. Fortunately, Mark Romans, with his HPTuners wizardry, updated the PCM to the correct gear ratios, and everything is back to normal. Normal being relative. Mark did the performance tune with the Tahoe on the dyno after the blower was installed. So, normal is not stock. |
|||||
|
The spare tire does not fit with the bigger differential. I had to get a smaller diameter tire to fit in the same space. It should not be too much of a problem with different tire diameters on the back because the Detroit True Trac can compensate. It is not the best solution, but it is still a problem and it will be resolved at a future time. |
|||||
|
|||||
|
|||||
|
While the gears are not completely broken in, it must be driven with a light foot. Even so, the Tahoe has tremendous acceleration. The top end must be lower because of the 4:56 gears, but it still has 110 MPH and still wants to rev further. It still has a way to go before red lining, but it is still being babied until break in is complete and the requisite fluid change in the differentials. Then track testing. |
|||||
|
|||||
|
|||||
|
|||||
|
|
|
|---|
|
|---|

|